Setting Up a Dedicated and Safe Practice Space
Dry-fire practice builds muscle memory, improves trigger manipulation, and refines draw strokes without burning through ammunition or paying hourly range fees. However, working with a firearm inside a residence demands uncompromising discipline before any training system is turned on. A safe session begins by removing all live ammunition from the training room entirely, placing it in a separate room or inside a closed storage container to eliminate the chance of an accidental mix-up.
Inspect the firearm visually and physically by checking the chamber, magazine well, and bolt face multiple times before beginning. It is wise to designate a specific backstop that could safely stop a projectile in the worst-case scenario, such as a concrete basement wall, a commercial bullet-stopping panel, or a heavy brick chimney. Pointing toward interior drywall, windows, or shared residential walls should be strictly avoided regardless of how confident you feel about the firearm being unloaded.
Establishing a clear ritual signals to your brain that training has started and that different rules apply. Many experienced instructors recommend speaking the status aloud, confirming the chamber is clear, and setting a firm boundary for the duration of the practice. Once your dedicated zone is prepared, keep distractions like television screens or ringing phones out of reach so that focus remains entirely on fundamental handling mechanics.
When concluding a session, perform an equally deliberate closing ritual. Put away the training targets, securely pack up any sensor hardware, and formally declare that dry practice is over before reintroducing live defensive ammunition. Mixing dry drills with normal handling routines in the same room is one of the most common causes of negligent discharges.
Evaluating Modern Dry Fire Training Hardware
Modern dry-fire systems range from simple inert snap caps to sophisticated digital setups that provide immediate biometric feedback. The most common electronic systems utilize caliber-specific laser cartridges inserted directly into the chamber. When the firing pin strikes the rubberized back of the cartridge, a brief laser pulse illuminates the target to indicate where a bullet would have impacted. This immediate visual confirmation helps shooters identify flinching, anticipatory dipping, and improper sight alignment.
Another category of training equipment relies on rail-mounted or magazine-floorplate accelerometers. These compact sensors measure the movement of the firearm before, during, and immediately after the trigger break. Because they track the physical arc of movement rather than relying strictly on an optical laser strike, they can diagnose why a shot went left or low, showing whether you pushed with your thumb or jerked the trigger finger unevenly.
For those running semi-automatic platforms, resetting the slide between each simulated shot can interrupt natural rhythm. To counter this, specialized training kits replace your factory slide, barrel, or trigger group with pneumatic or spring-driven mechanisms that automatically reset the trigger. While these systems represent a larger financial investment, they allow shooters to practice rapid strings of fire and recoil recovery without manual manipulation after every single trigger pull.
Deciding which system fits your goals depends on whether you struggle more with trigger mechanics or visual sight tracking. Shooters who already own quality gear can explore local retailers across the country to examine different accessories, or locate specialized providers through an all states firearm directory to find retail shops that carry modern diagnostic gear.
Electronic Targets and Camera Tracking Setups
While standard paper targets taped to a wall cost practically nothing, interactive electronic targets take home training much further by logging your scores automatically. These units typically feature reflective or light-sensitive panels that register laser strikes, emitting an audible tone or flash when hit. Some models can be networked together, allowing you to position targets across an entire room to practice target transitions, spatial awareness, and wide angular engagements.
Smartphone-based camera systems offer an alternative to dedicated hardware boxes. By securing your phone on a tripod pointed at a scaled paper target, specialized companion applications can track laser impacts on screen in real time. These apps record split times, score your accuracy based on scoring rings, and save your historical data so you can quantify whether your splits and accuracy are genuinely improving over several weeks of training.
Environmental lighting plays a noticeable role in how effectively optical tracking systems function indoors. Direct sunlight streaming through a window or harsh fluorescent glare can wash out laser contrast, causing the camera software to miss shots or produce false hits. Positioning your targets in an evenly lit hallway or basement with consistent ambient light ensures reliable registration from the first repetition to the last.
Scaled targets are particularly valuable when working within confined domestic spaces. A target printed at one-tenth or one-third scale accurately simulates engaging a full-size silhouette at fifteen or twenty-five yards while standing inside a typical ten-foot bedroom. Training with scaled targets forces strict discipline on sight alignment, making full-size outdoor targets look substantially easier on range day.
Selecting and Configuring a Shot Timer for Indoor Use
A shot timer is often considered an essential training device for practical shooting, but using one indoors for dry work requires careful configuration. Standard acoustic shot timers are calibrated to detect the high-decibel blast of live gunfire. When used inside a quiet home, the faint click of a firing pin falling or a striker releasing will rarely trigger a standard microphone unless the unit allows fine sensitivity adjustments.
Many dedicated electronic timers feature adjustable sensitivity thresholds designed specifically to capture the dry click of a hammer or striker. To make this work, the timer is typically clipped close to the belt or positioned on a table within a few feet of the firearm. Alternatively, numerous mobile applications utilize your smartphone microphone to detect trigger snaps, though background noises like air conditioning or street traffic can occasionally cause false readings.
Instead of trying to capture individual shot sounds, many shooters utilize the par-time function on their timer. A par time sounds an initial start beep followed by a second cutoff beep set at a specific interval, such as 1.5 seconds. The objective is to complete your draw, acquire sight picture, and press the trigger cleanly before the second beep finishes, turning the drill into a race against the clock without needing acoustic detection.
Using variable start delays is critical for solo training to prevent anticipating the go signal. When the timer emits a beep at a random interval between two and five seconds after activation, your nervous system is forced to react to the external stimulus rather than guessing the cadence. This directly builds the fast, subconscious visual reflexes needed for both competitive shooting and practical defense.
Building a Structured Daily Practice Routine
Random handling yields slow results, while a disciplined fifteen-minute routine practiced four or five days a week will rapidly outpace a monthly high-round-count range trip. The human brain builds neural pathways through frequent, focused repetitions rather than occasional marathons that result in physical fatigue. Keeping sessions relatively short ensures that every single repetition is executed with total mental engagement and crisp mechanical form.
A balanced routine typically begins with sight alignment and trigger press isolation drills. Standing close to the wall, focus your vision strictly on the front sight post or the red dot reticle against a blank background, and slowly squeeze the trigger straight to the rear. The sight should remain completely motionless through the break and follow-through, confirming that your grip pressure is neutral and your finger placement is correct.
Once isolation drills are complete, transition into dynamic mechanics such as drawing from concealment or low-ready presentations. Work on driving the gun smoothly toward the target in an efficient path without bowling or dipping the muzzle. Finishing each session with complex multi-step drills—such as engaging two targets with a simulated reload between them—keeps practice engaging while consolidating multiple handling skills under a par time.
Tracking your numbers in a simple training journal keeps you accountable over time. Document the drills performed, the par times achieved, and the specific mistakes noticed during the session. If you observe consistent technical hitches or unexpected hardware friction, visiting a professional shop for gunsmithing services can help tune trigger pull weights, smooth action parts, or address mechanical hitches before bad habits form.
Mastering the Draw Stroke and Concealment Clearances
Drawing from a holster involves multiple synchronized movements that are perfectly suited for dry-fire refinement. In live-fire settings, many shooting ranges prohibit drawing from a holster entirely due to insurance constraints, making your living room the primary venue to practice this essential defensive skill. The draw stroke should be broken down into clean phases: clearing the garment, establishing a firm master grip, lifting the firearm, and joining the support hand.
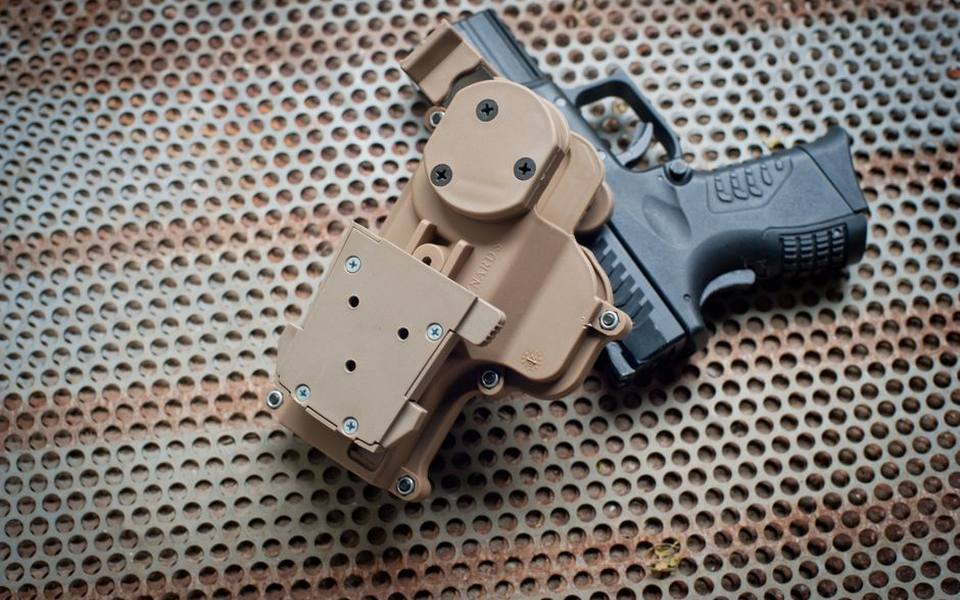
Clearing concealment garments requires aggressive, deliberate hand movement whether you carry inside the waistband at the hip or in the appendix position. Use your support hand to lift the hem of your shirt decisively to your chest before the strong hand moves toward the grip. Practicing with the actual clothing you wear daily—jackets, sweaters, and light summer shirts—reveals potential snag points that sterile range gear never exposes.
Establishing the master grip inside the holster is non-negotiable. If your hand lands awkwardly on the frame during the draw, attempting to readjust your grip while presenting the gun toward the target will degrade recoil control and delay your shot. Your fingers should lock into their final firing position while the gun is still seated in the kydex or leather shell.
Drive the firearm outward toward the target in a straight, linear press. As the hands marry together in front of your chest, begin acquiring your sights early in the stroke so that by the time your arms reach full extension, your sight picture is confirmed and your trigger finger has prepped the slack. This eliminates the sluggish pause that many shooters experience at the end of their presentation.
Practicing Magazine Reloads and Malfunction Clearances
Reloading drills in a living room allow shooters to build lightning-fast dexterity without scuffing live brass across a concrete range floor. For emergency or slide-lock reloads, use dedicated weighted dummy rounds in your spare magazines to mimic the real center of gravity of a fully loaded magazine. Empty magazines feel artificially light and behave differently when falling free or sliding into a narrow magwell under pressure.
Keep your visual attention centered on the workspace in front of your face rather than dropping your head toward your beltline. Bring the firearm back toward eye level as the slide locks open, eject the depleted magazine cleanly, and guide the fresh magazine smoothly into the well. Indexing your support-hand index finger along the front edge of the magazine helps guide it home naturally through proprioception.
Malfunction drills are equally straightforward to simulate with inert training rounds. By loading a combination of dummy rounds and spent casings into a magazine, you can replicate common stoppages such as failure-to-extract, stovepipes, and double feeds. Practicing tap-rack remediations until they become an automatic physical reflex ensures you will not hesitate if a real stoppage occurs on the firing line.
Ensure your training magazines and dummy ammunition are kept completely segregated from live gear. Colored dummy rounds with bright orange or blue casings make immediate visual identification simple, eliminating any possibility of chambering an active cartridge during rapid loading and unloading exercises.
Managing Equipment Wear and Firing Pin Longevity
A common concern among gun owners is whether repeated dry firing causes structural damage to the internal components of modern firearms. Most modern centerfire pistols and rifles are engineered to withstand dry firing without immediate harm, as their robust firing pins and strikers travel into empty space without striking hardened steel. However, thousands of repetitions every month will inevitably accelerate normal mechanical wear on springs, pins, and extractors over time.
Rimfire firearms are a notable exception where dry firing without protection is strongly discouraged. Because the firing pin in a rimfire platform is positioned to strike the outer rim of the cartridge case, dry firing causes the pin to impact the hardened steel edge of the chamber directly. Over time, this peens the chamber mouth, creates burrs, and can chip or break the delicate firing pin tip, necessitating costly repairs.
Using quality snap caps or spring-cushioned dummy rounds mitigates impact shock across all firearm types. The brass or synthetic primer insert absorbs the kinetic energy of the hammer or striker fall, closely replicating the resistance of a live primer. For shooters looking to purchase reliable training accessories or replacement parts, local brick-and-mortar dealers, including popular gun stores in Texas, maintain steady supplies of snap caps, replacement springs, and cleaning kits.
Regular inspection of your practice firearms is essential if you maintain an intense training schedule. Examine the breech face for unusual pitting, inspect striker tips for micro-fractures, and verify that the trigger reset spring maintains its crisp tension. Replacing worn small parts periodically keeps your equipment running reliably both during home practice sessions and at the shooting range.
Validating Dry Practice on the Live Fire Range
Dry-fire practice builds the foundation, but live fire remains the ultimate test of your marksmanship and recoil management. While dry repetitions teach you to press the trigger without disturbing your sights, they cannot simulate the physical concussion, muzzle blast, and muzzle flip of live rounds. To ensure your home training translates into real competence, schedule regular range sessions to validate your progress against measurable live standards.
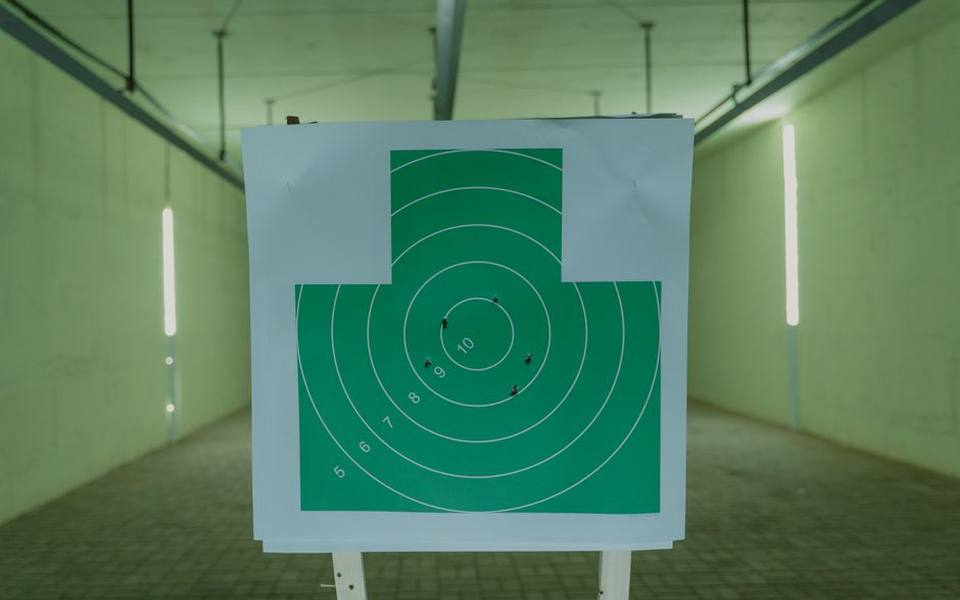
When arriving at the range, resist the urge to immediately blast through boxes of ammunition without a plan. Begin your session by running the exact same drills you practiced at home under identical par times. If your draw-to-first-shot was consistently under 1.5 seconds in your living room, test whether you can achieve the same split while maintaining tight hits on a live paper target.
Shooting enthusiasts who run high-volume training schedules often look into self-loading equipment to keep practice affordable. Many local gun shops and regional retailers supply reloading supplies, making it straightforward to produce consistent practice ammunition tailored to your specific training platform without paying premium off-the-shelf prices for every range trip.
Comparing your live-fire performance against your dry-fire baseline quickly highlights training deficiencies. If your groups drift low and left during live fire despite clean dry-fire results, you are likely anticipating recoil or clenching your fingers right before ignition. Identifying these discrepancies allows you to adjust your indoor practice drills accordingly during the following week.
Avoiding Common Dry Fire Training Pitfalls
One of the easiest mistakes to make during home training is cheating the par time. Because a shot timer produces an audible beep, shooters often rush their trigger press simply to beat the horn, firing sloppy shots that would entirely miss a target in the real world. A repetition only counts as successful if the sight picture was confirmed and the trigger was pressed cleanly before the par beep concludes.
Another subtle pitfall is developing a habit of lazy sight tracking. Because there is no recoil to manage indoors, it is easy to lower the firearm immediately after the trigger clicks to inspect your target or check your phone app. This fosters a negative habit known as failing to follow through; during live fire, dropping the gun early causes shots to hit low as the hands drop before the bullet exits the barrel.
Physical complacency poses the greatest safety hazard during long training cycles. When you handle a firearm in your home hundreds of times without incident, familiarity can breed a casual attitude toward safety protocols. Never allow yourself to rush through clearing procedures or skip physical chamber inspections simply because you practiced in the exact same spot yesterday.
Whether you are refining your technique on handguns purchased recently or fine-tuning older firearms sourced from local retailers stocking used guns, consistent standards matter. Approach every single dry-fire session with the same mental focus and respect that you bring to a live firing line, and your skill development will compound steadily over the months ahead.
Published 2026-09-21 · reviewed with each rebuild, last September 2026.
Find gun stores near you
The directory lists 12,328 gun stores by state and city — pick your state or use the “Near me” button in the header.
More guides
-
 Buying
Night Vision, Caliber Choices, and Hearing Protection: The Practical Buyer Guide
-
 Owning
Muzzle Brakes vs Pistol Compensators: Mechanics, Tuning, and Ownership Costs
-
 Owning
Where to Get Fingerprints for Gun Permits, Hearing Gear, and Range Prep
-
 Owning
How to Remove Rust from a Gun Safely Without Damaging the Finish
-
 Buying
Choosing a Skeet Shotgun: Balance, Gauges, and Barrel Specs
-
 Safety
Stun Guns, Tasers, and Protective Range Gear: Practical Buyer's Guide
-
 Buying
Choosing Practical Firearms for Home Defense and Daily Carry
-
 Buying
FFL Transfer Fees and Process Explained: What to Expect at the Counter
-
 Service
Fingerprinting Services, IdentoGO, and FBI Background Checks: The Complete Guide
-
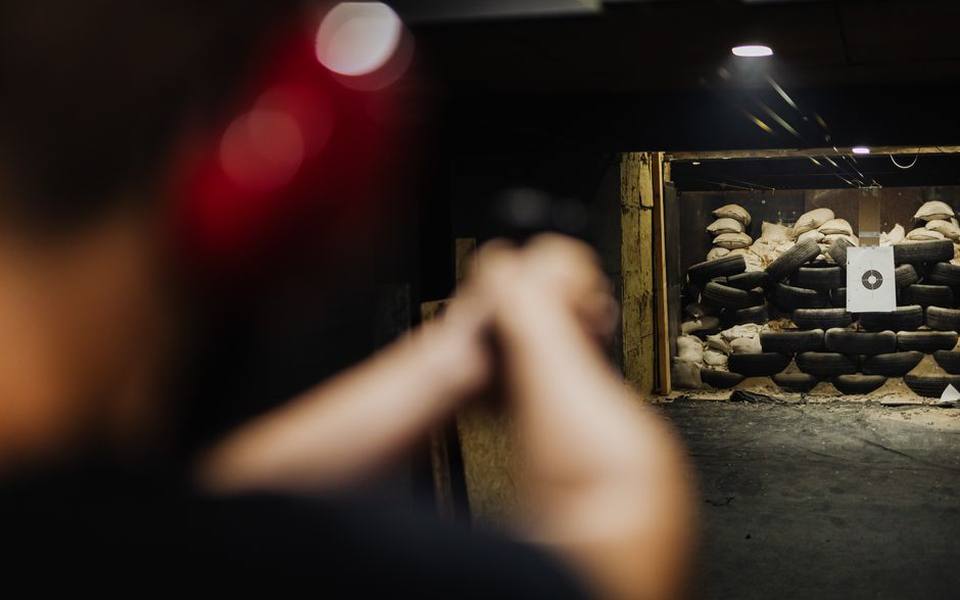 Safety
Indoor and Outdoor Shooting Ranges: Etiquette, Rules, and Memberships
-
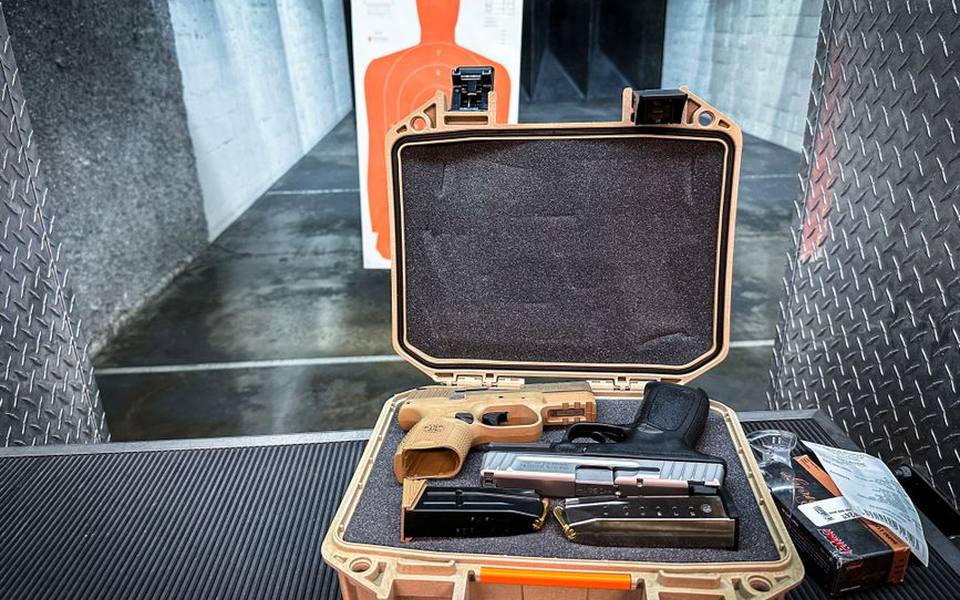 Storage
Gun Safes and Fireproof Storage: Biometric Safes, Cabinets, and Dehumidifiers
-
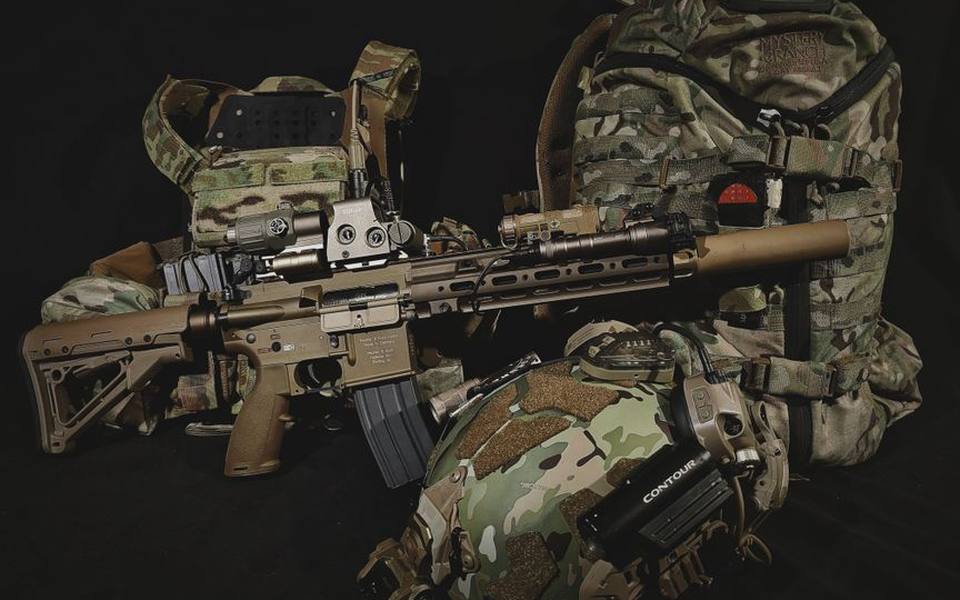 Safety
Body Armor and Ballistic Plates: Threat Levels, Plate Materials, and Carrier Sizing
-
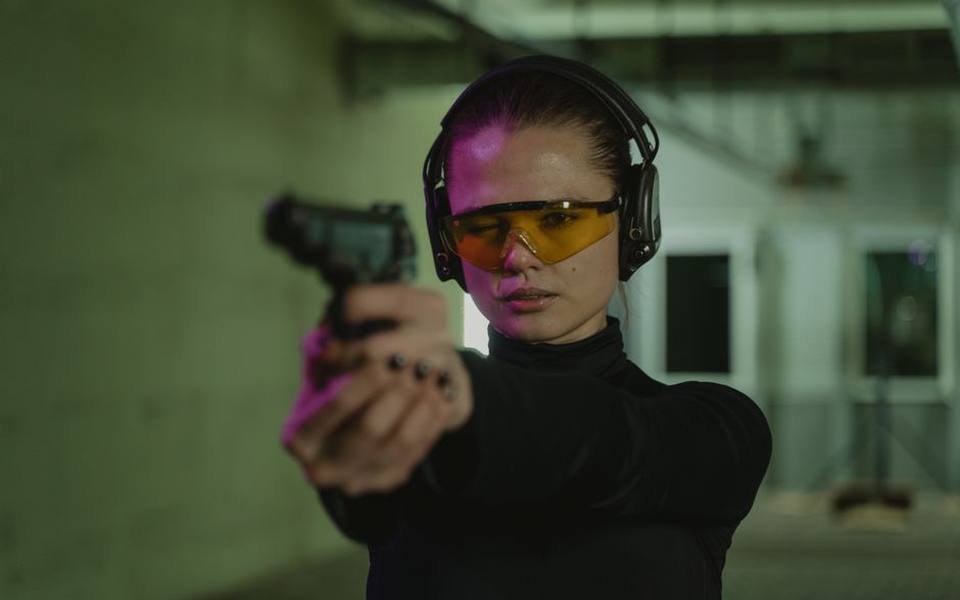 Safety
Shooting Hearing Protection: Electronic Earmuffs, Custom Earplugs, and Noise Reduction
-
 Owning
Shooting Targets, Clay Throwers, and Range Rests Guide
-
 Owning
Concealed Carry Holsters: Kydex, Leather, IWB, OWB, and Specialized Rigs
-
 Owning
Rifle and Shotgun Slings: Single-Point, Two-Point, and Mounting Hardware
-
 Owning
Everyday Carry and Tactical Accessories: Range Bags, Gun Locks, and Practical Gear
-
 Owning
Gun Cleaning Kits and Maintenance: Cleaners, Oils, and Solvents
-
Safety
Everyday and Noise Reduction Earplugs: A Practical Comparison Guide
-
 Safety
Firearm Safety Rules, Concealed Carry Courses, and Tactical Shooter Training
-
 Service
Rifle Customization, Caliber Selection, and Bench Work: A Guide to Practical Gunsmithing and Reloading
-
 Safety
Shooting and Hearing Protection: Guide to Earmuffs, Plugs, and Electronic Defenders
-
 Buying
Choosing Spotting Scopes, Binoculars, and Specialized Night Optics
-
 Safety
Active Shooter Response, Tactical Handgun Courses, and Firearm Safety Training Guide
-
 Buying
Night Vision Optics and Spotting Scopes Buyer's Guide
-
 Buying
Firearm Valuation, Appraisal, and Used Buying Guide
-
Safety
Layering Personal Defense: Less-Lethal Tools, Purpose-Built Firearms, and Medical Gear
-
 Buying
Hunting Ammunition, Calibers & Reloading Supplies Guide
-
 Owning
Concealed Carry Reciprocity, Licensing Basics, and Buying Regulations Explained
-
 Service
Custom Gunsmithing, Barrel Modifications, and AR-15 Upgrades Guide
-
 Owning
Target Shooting & Clay Sports Guide: Air Rifles, Ranges & Eye Protection
-
Storage
Essential Firearm Storage, Cases, Recoil Pads, and Rig Systems
-
 Safety
The Ultimate Guide to Shooting Hearing Protection and Electronic Earmuffs
-
 Owning
State Firearm Rules, Training Courses, and Range Guidelines
-
Owning
Essential Tactical Gear, EDC Equipment, Shooting Gloves, and Range Bags
-
 Owning
Everyday Carry Holsters and Wearable Gear: A Practical Selection Guide
-
 Owning
Firearm Upgrades and Tuning: Gas Blocks, Sights, and Mounts
-
 Owning
CCW Permits, Licensing Laws, and Background Check Fingerprinting Guide
-
 Storage
Firearm Safes and Secure Storage: Humidity Control, Security Standards, and Storage Solutions